平安校園")
名-南京網(wǎng)絡(luò)教育-教育培訓(xùn)--江蘇教育黃頁")
套餐優(yōu)惠多多")

員考試 PHP教程 自考 注冊會計(jì)師 會計(jì)證 統(tǒng)統(tǒng)免費(fèi)下")
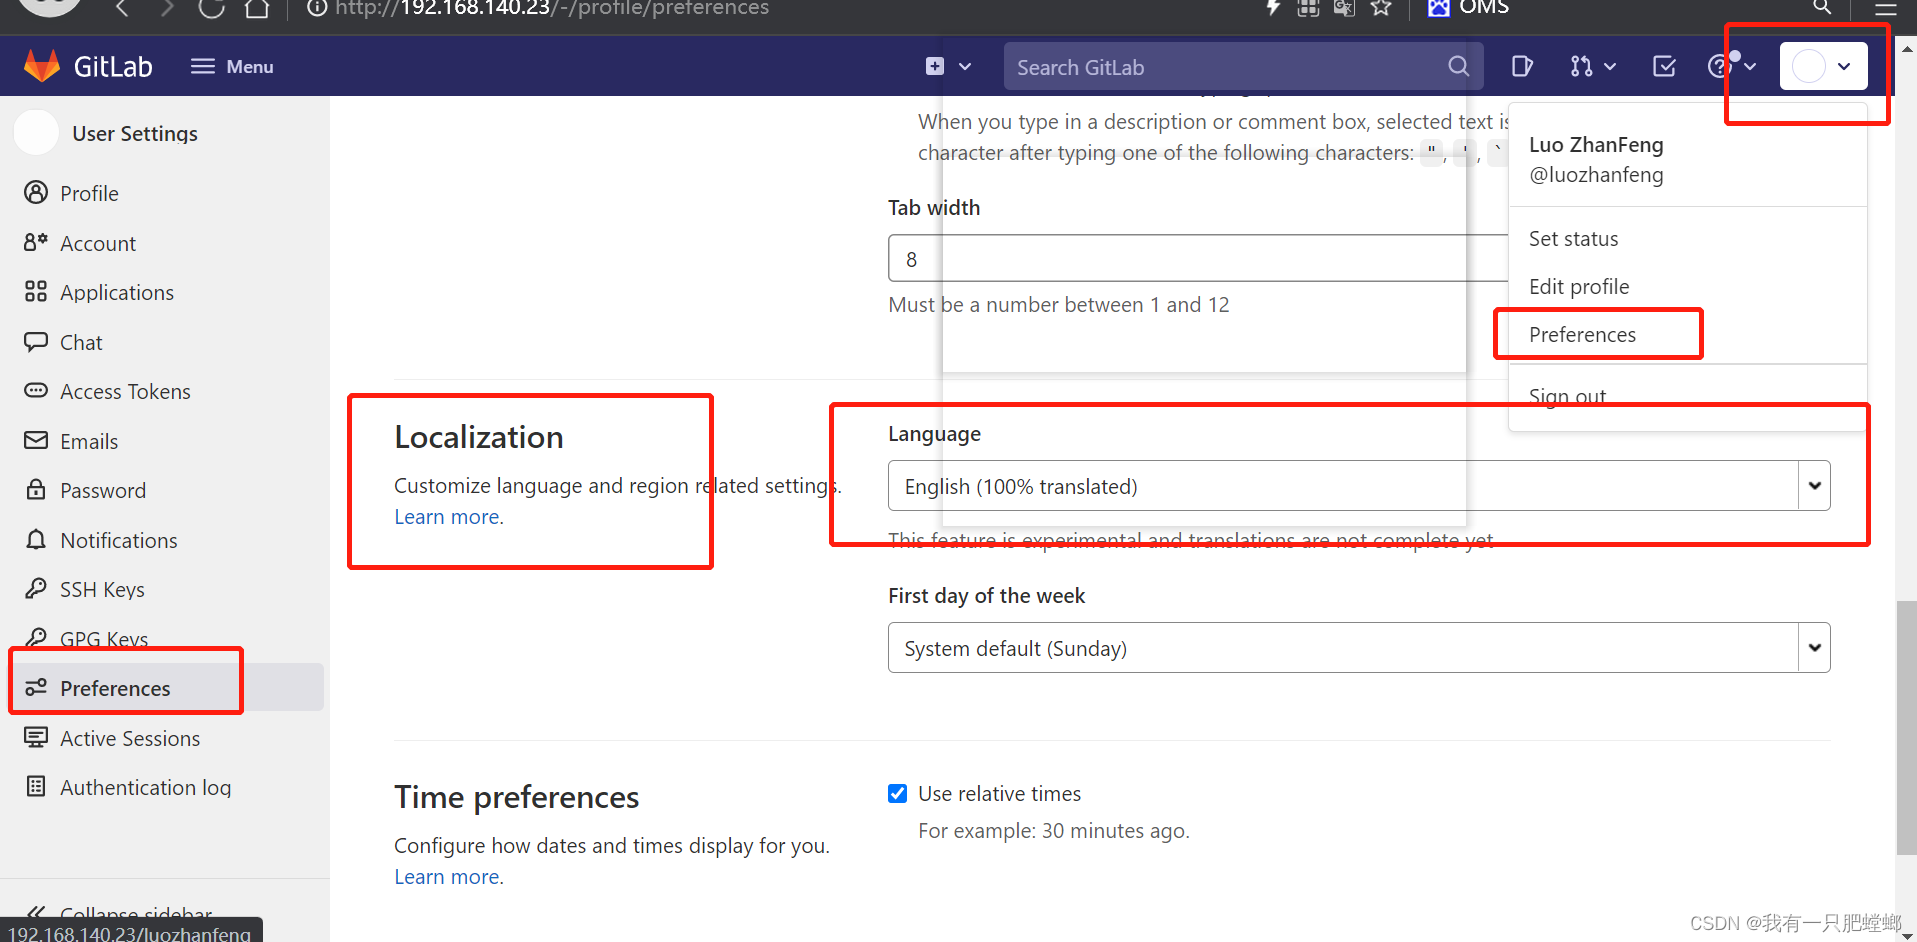
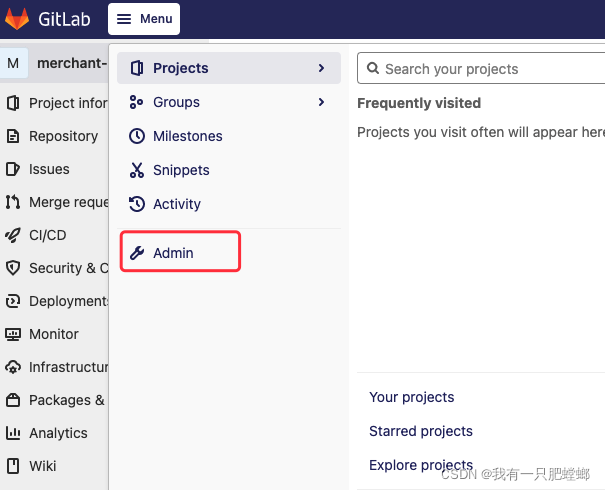
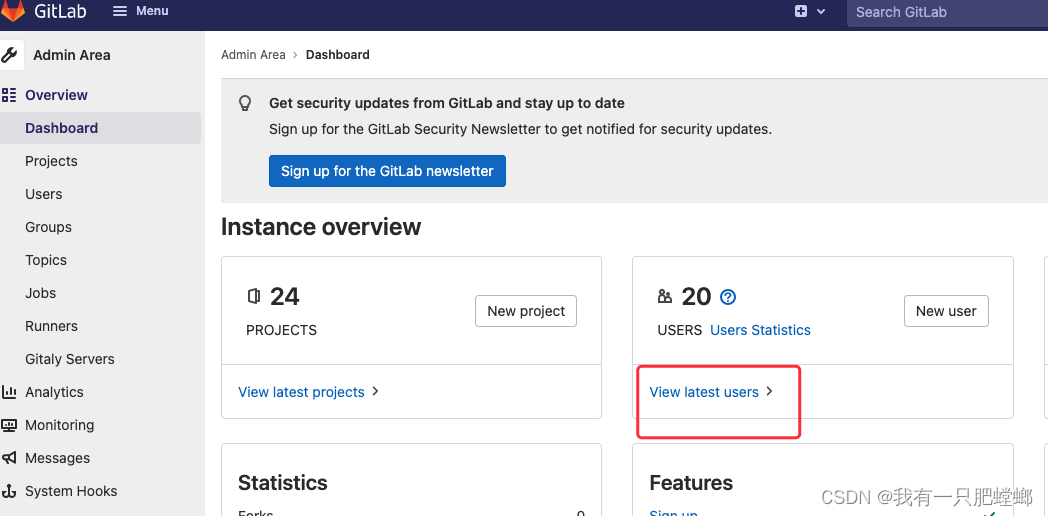
文章目錄CentOS7 安裝 GitLab首次登錄GitLab修改管理員密碼設(shè)置中文管理員通過賬號審核申請刪除項(xiàng)目Windows系統(tǒng)Git上傳代碼至Gitlab倉庫CentOS7 安裝 GitLab安裝sshsudo yum install -y&...
安裝ssh
sudo yum install -y curl policycoreutils-pythonopenssh-server1
將SSH服務(wù)設(shè)置成開機(jī)自啟動:
sudo systemctl enable sshd1
啟動SSH服務(wù)
sudo systemctl start sshd1
開啟防火墻
service firewalld start1
添加http服務(wù)到firewalld,pemmanent表示永久生效,若不加–permanent系統(tǒng)下次啟動后就會失效。
sudo firewall-cmd --permanent --add-service=http1
重啟防火墻
sudo systemctl reload firewalld1
安裝Postfix以發(fā)送通知郵件
sudo yum install postfix1
將postfix服務(wù)設(shè)置成開機(jī)自啟動
sudo systemctl enable postfix1
啟動postfix
sudo systemctl start postfix1
添加YUM-Gitlab源
vim /etc/yum.repos.d/gitlab-ce.repo1
[gitlab-ce] name=Gitlab CE Repository
baseurl=https://mirrors.tuna.tsinghua.edu.cn/gitlab-ce/yum/el$releasever/
gpgcheck=0 enabled=1
yum makecache1
我們選擇安裝最新版本的Gitlab。
yum install -y gitlab-ce1
可以訪問"https://mirrors.tuna.tsinghua.edu.cn/gitlab-ce/yum/el7/"查看Gitlab-ce的版本。 安裝歷史版本請使用下面命令:
yum install -y gitlab-ce-{VERSION}1修改gitlab配置文件指定服務(wù)器ip
vim /etc/gitlab/gitlab.rb1
重置并啟動GitLab
 gitlab-ctl reconfigure
 gitlab-ctl restart12
根據(jù)之前配置的ip訪問就行,默認(rèn)端口8080
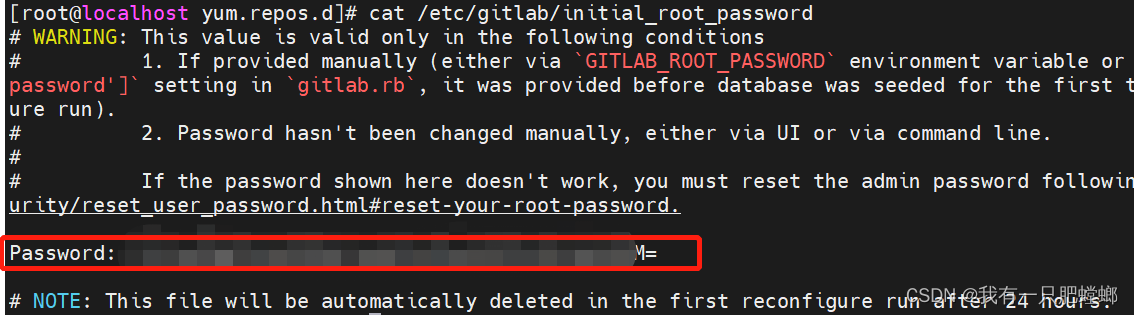
管理員賬號為root
密碼保存在配置文件內(nèi)
cat /etc/gitlab/initial_root_password1
進(jìn)入 GitLab 控制臺
GitLab 版本不同,命令會有所不同(網(wǎng)上說的而基本都是gitlab-rails console production ),推薦大家直接上 GitLab 官網(wǎng)去找對應(yīng)版本的命令
gitlab-rails console -e production1
進(jìn)入控制臺后,執(zhí)行下面命令,此 user 則表示 root 用戶
user = User.where(id: 1).first1
修改密碼,確認(rèn)密碼
user.password = 'secret_pass'user.password_confirmation = 'secret_pass'12
保存密碼
user.save!1
退出控制臺
exit1
如下圖所示
來源:本文內(nèi)容搜集或轉(zhuǎn)自各大網(wǎng)絡(luò)平臺,并已注明來源、出處,如果轉(zhuǎn)載侵犯您的版權(quán)或非授權(quán)發(fā)布,請聯(lián)系小編,我們會及時(shí)審核處理。
聲明:江蘇教育黃頁對文中觀點(diǎn)保持中立,對所包含內(nèi)容的準(zhǔn)確性、可靠性或者完整性不提供任何明示或暗示的保證,不對文章觀點(diǎn)負(fù)責(zé),僅作分享之用,文章版權(quán)及插圖屬于原作者。


聯(lián)系郵箱:service#改成@jsedu114.com
地 址:中國●江蘇
南京市秦淮區(qū)洪武路359號1506室
Copyright©2013-2025 ?JSedu114 All Rights Reserved. 江蘇教育信息綜合發(fā)布查詢平臺保留所有權(quán)利
![]() 蘇公網(wǎng)安備32010402000125
蘇ICP備14051488號-3技術(shù)支持:南京博盛藍(lán)睿網(wǎng)絡(luò)科技有限公司
蘇公網(wǎng)安備32010402000125
蘇ICP備14051488號-3技術(shù)支持:南京博盛藍(lán)睿網(wǎng)絡(luò)科技有限公司
南京思必達(dá)教育科技有限公司版權(quán)所有 百度統(tǒng)計(jì)


名江蘇教育黃頁新浪微博") 新浪微博
新浪微博